Aerial cinematography with DSLR and mirrorless cameras has unlocked a new frontier in filmmaking and high-resolution photography. But unlike GoPros or action cameras, carrying a full-frame Sony a7 or equivalent requires much more than a standard consumer drone. It demands serious thrust, robust frame architecture, and an integrated gimbal system to capture shake-free cinematic footage. This article explores the technical requirements, drone size, build types, and real-world limitations of using DSLR/mirrorless setups in aerial workflows.
Understanding Payload Demands: Why DSLR Drones Are Unique
A Sony a7 mirrorless camera body weighs around 500–650 grams without a lens. Add a stabilized gimbal like the Gremsy T3 (approximately 1 kg), and you’re looking at a combined payload nearing 2 kg or more. This is well beyond what consumer-grade quadcopters can support. The drone must generate at least three to four times the payload in total thrust to maintain stable flight, accommodate wind resistance, and allow for smooth maneuvers.
To illustrate, a 2 kg camera/gimbal setup would require a drone capable of generating 6–8 kg of upward thrust—minimum. While a 5″ 6S drone from Banggood may generate up to 6 kg of thrust, it simply lacks the motor torque, frame rigidity, and stability required for consistent DSLR footage.

Frame Architecture: X8, Y6, and CineLifter Drones
Most DSLR drones are not your typical quadcopters. They are built using multi-rotor configurations such as X8 or Y6, which double up motors per arm for extra lift and redundancy. Among these, the X8 CineLifter configuration has emerged as the most reliable option for hobbyists and professionals alike.
The X8 setup consists of four arms with two motors per arm—one facing up, one down—allowing eight propellers to share the lift burden. This configuration improves both stability and flight efficiency while maintaining a compact size. Popular frames include:
- Shen Drones Siccario X8: Designed for carrying RED Komodo and Sony mirrorless cameras.
- Holybro Kopis X8–5: More affordable and suitable for learning heavy lift dynamics.
- Catalyst Machineworks CineLifter Frames: Precision-designed for payloads exceeding 2.5 kg.
These frames are typically constructed with carbon fiber, CNC aluminum parts, and vibration-isolated mounting plates to reduce jello effects in footage.
DIY Build Costs and Realistic Expectations
Building a drone that can carry a DSLR is not just about size. It involves integrating electronic speed controllers (ESCs), flight controllers, high-capacity LiPo batteries, and custom firmware tuning. The entry-level cost for a DIY build with DSLR support starts around $1,000–$1,500 for the airframe and essential electronics. However, this doesn’t include:
- Gimbal systems ($500–$1,200)
- LiPo batteries ($100–$300 each)
- FPV gear and receiver modules
- Remote control transmitters
- Safety equipment like GPS failsafe systems
Flight time on a fully loaded CineLifter rig is often limited to 5–10 minutes, even with 6S or 8S battery setups. Upgrading to dual battery configurations can marginally increase endurance, but adds further weight.
Cinematic Stability: Why Gimbals Are Mandatory
While lightweight action cams can be stabilized digitally, DSLR footage demands mechanical stabilization. High-end gimbals like the Gremsy T3, Moza AirCross 2, or custom CineLifter dampers are used to maintain cinematic quality.
Balancing these gimbals is an art in itself. Any micro-vibration from the frame can transfer directly into the camera sensor, resulting in footage artifacts. Builders use dampened isolation mounts and IMU-based stabilization tuning to achieve optimal balance. These components must also withstand turbulent airflows at varying flight speeds and orientations.
Camera Control & Streaming Complexities
Consumer drones from DJI and Autel offer built-in HDMI streaming, remote camera control, automated subject tracking, and follow focus. DIY DSLR drones lack these conveniences unless you invest in third-party modules.
Some hobbyists attempt to build their own Sony PTP protocol drivers or use Seagull #REC and Seagull MAP2 PWM adapters to control shutter, zoom, and focus via RC transmitters. These systems can cost hundreds of dollars and require firmware flashing, USB adapters, and precise calibration. Even then, live HDMI streaming with real-time low-latency monitoring is difficult to achieve without specialized gear like Connex HD or DJI Air Unit.
Flight Time and Range Considerations
Flight duration remains the Achilles’ heel of DSLR drone builds. With payloads over 2 kg, even professional setups barely manage 15–20 minutes of flight time. In real-world conditions—elevation gain, wind drag, and maneuvering—the effective flight window shrinks to 7–12 minutes.
These drones are best used for short-range, job-specific applications such as “hike-and-circle” filming, construction mapping, or local B-roll footage. Line-of-sight operation is standard, and GPS-assist helps maintain orientation. FPV systems allow live framing, but long-distance range is restricted to under 1 km without boosted antennas.
Commercial Turnkey Solutions: When Budget Allows
For professionals seeking out-of-the-box reliability, companies like Freefly Systems offer state-of-the-art heavy-lift drones:
- Freefly Alta X: Starting at ~$18,000 (base), it supports up to 35 lb payloads with 20-minute endurance. Fully compatible with RED and Sony FX6.
- Freefly Astro: Designed specifically for the Sony A7R4, costing around $25,000, offering GPS, RTK mapping, and extended flight software.
These platforms are equipped with Redundancy in motors, GPS modules, professional gimbals, and telemetry downlinks. However, they require proper FAA certifications, pilot training, and insurance coverage.
Consumer Drone Alternatives: When Not to DIY
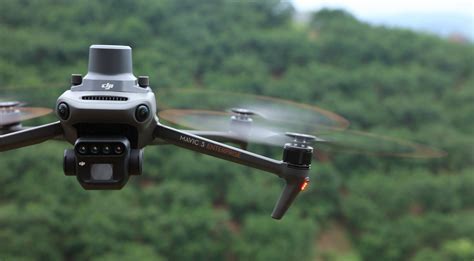
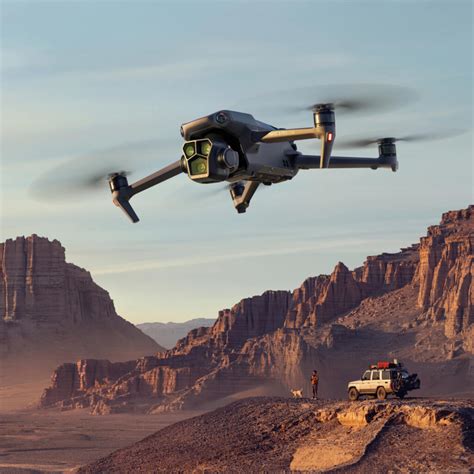
For creators who prioritize portability, simplicity, and automation, DJI’s latest drones offer near-professional results:
- DJI Mavic 3: Hasselblad sensor, Apple ProRes, obstacle avoidance, 40+ minutes of flight.
- DJI Air 2S: 1-inch sensor, 5.4K video, compact and capable for short aerial clips.
These drones include smart tracking modes, waypoint control, and in-app editing tools. They eliminate the complexity of tuning PID values, balancing motors, or worrying about signal loss mid-air.
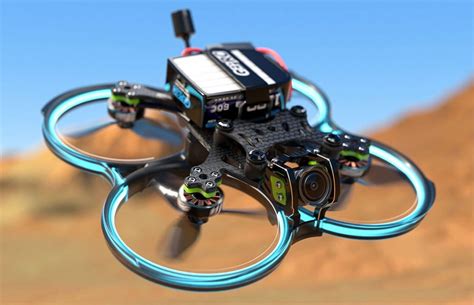
Beginner Path: Start with Cinewhoops and FPV Basics
Building a CineLifter is not for the faint-hearted. Every step—soldering ESCs, flashing firmware, tuning PIDs, balancing props, calibrating gimbals—requires technical expertise. For those new to FPV flying, it’s highly recommended to start with a GoPro-based Cinewhoop. These drones offer 3–5 minutes of stable flight, with sufficient thrust to learn cinematic maneuvers in tight spaces.
Creators like NurkFPV, known for flying RED and Komodo rigs on DIY drones, often showcase the build process, flight tests, and tuning tutorials on YouTube. Watching and emulating these setups through platforms like RotorBuilds.com or Catalyst Machineworks can speed up learning.
Conclusion: What Drone Size Supports a DSLR or Mirrorless Camera?
To safely and reliably fly a Sony a7–style DSLR or mirrorless camera, you need a drone with at least:
- An X8 CineLifter frame (carbon fiber construction)
- Minimum 6–8 kg of total thrust capacity
- A 2–3 kg payload capability
- High-discharge 6S or 8S LiPo batteries
- Mechanical gimbal with IMU-based stabilization
- Optional camera control modules (Seagull, PTP drivers)
A good build budget starts around $2,500, and high-end commercial options exceed $20,000. While it’s technically possible to DIY, the learning curve is steep. Beginners are strongly advised to master FPV basics with smaller builds before progressing to DSLR rigs.
In the end, the best drone for a DSLR is the one that balances power, safety, and control—not just the size of its frame, but the synergy of every component onboard.


